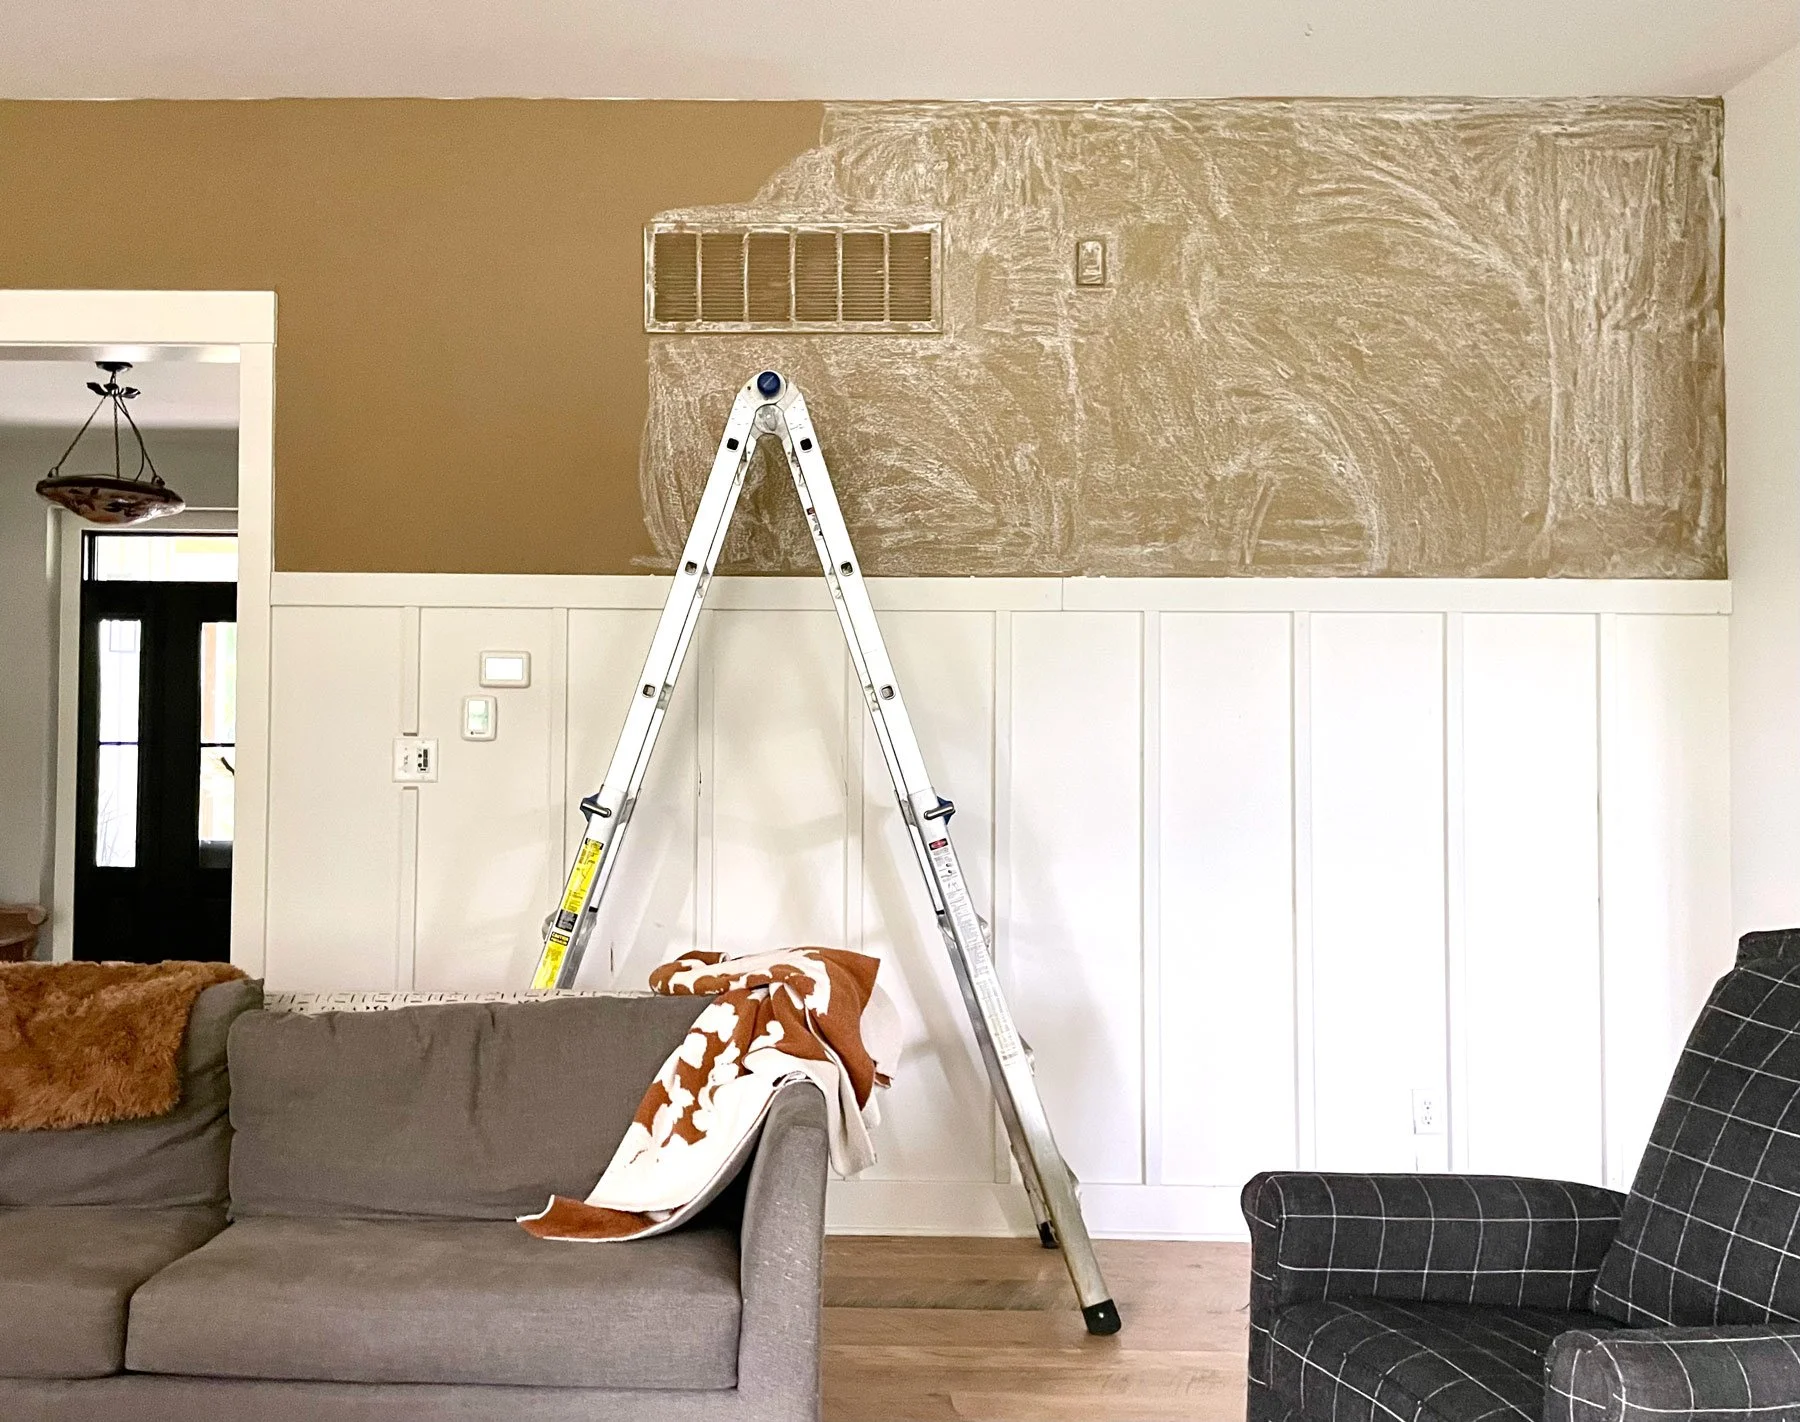
I have a big empty wall in my living room. I used to have these two large paintings hanging there, and they were nice. But those paintings have moved on and I needed to fill the space.
First. I broke up the expanse of the wall by adding some board and batten trim. I have this in a few other places so it’s a consistent feature in my house. I painted the top of the wall with DIY chalk paint. I wanted the look of bare cardboard, so I used regular brown wall paint with some leftover grout powder mixed in. I kept adding grout to the paint until it was sufficiently dusty looking for my plans.
Sealing the paint with a layer of chalk.
With chalk paint, before you draw anything on it, you want to completely cover it with a layer of chalk, and then wipe that off. This seals the surface so that your designs are erasable. I’m using plain old white chalk from the dollar store. Yes, I do wish there wasn’t an air grate in the middle of the wall. I just pretend it’s not there.
The first mural I did was the end of summer so I drew sunflowers.
Summer wall mural with sunflower design.
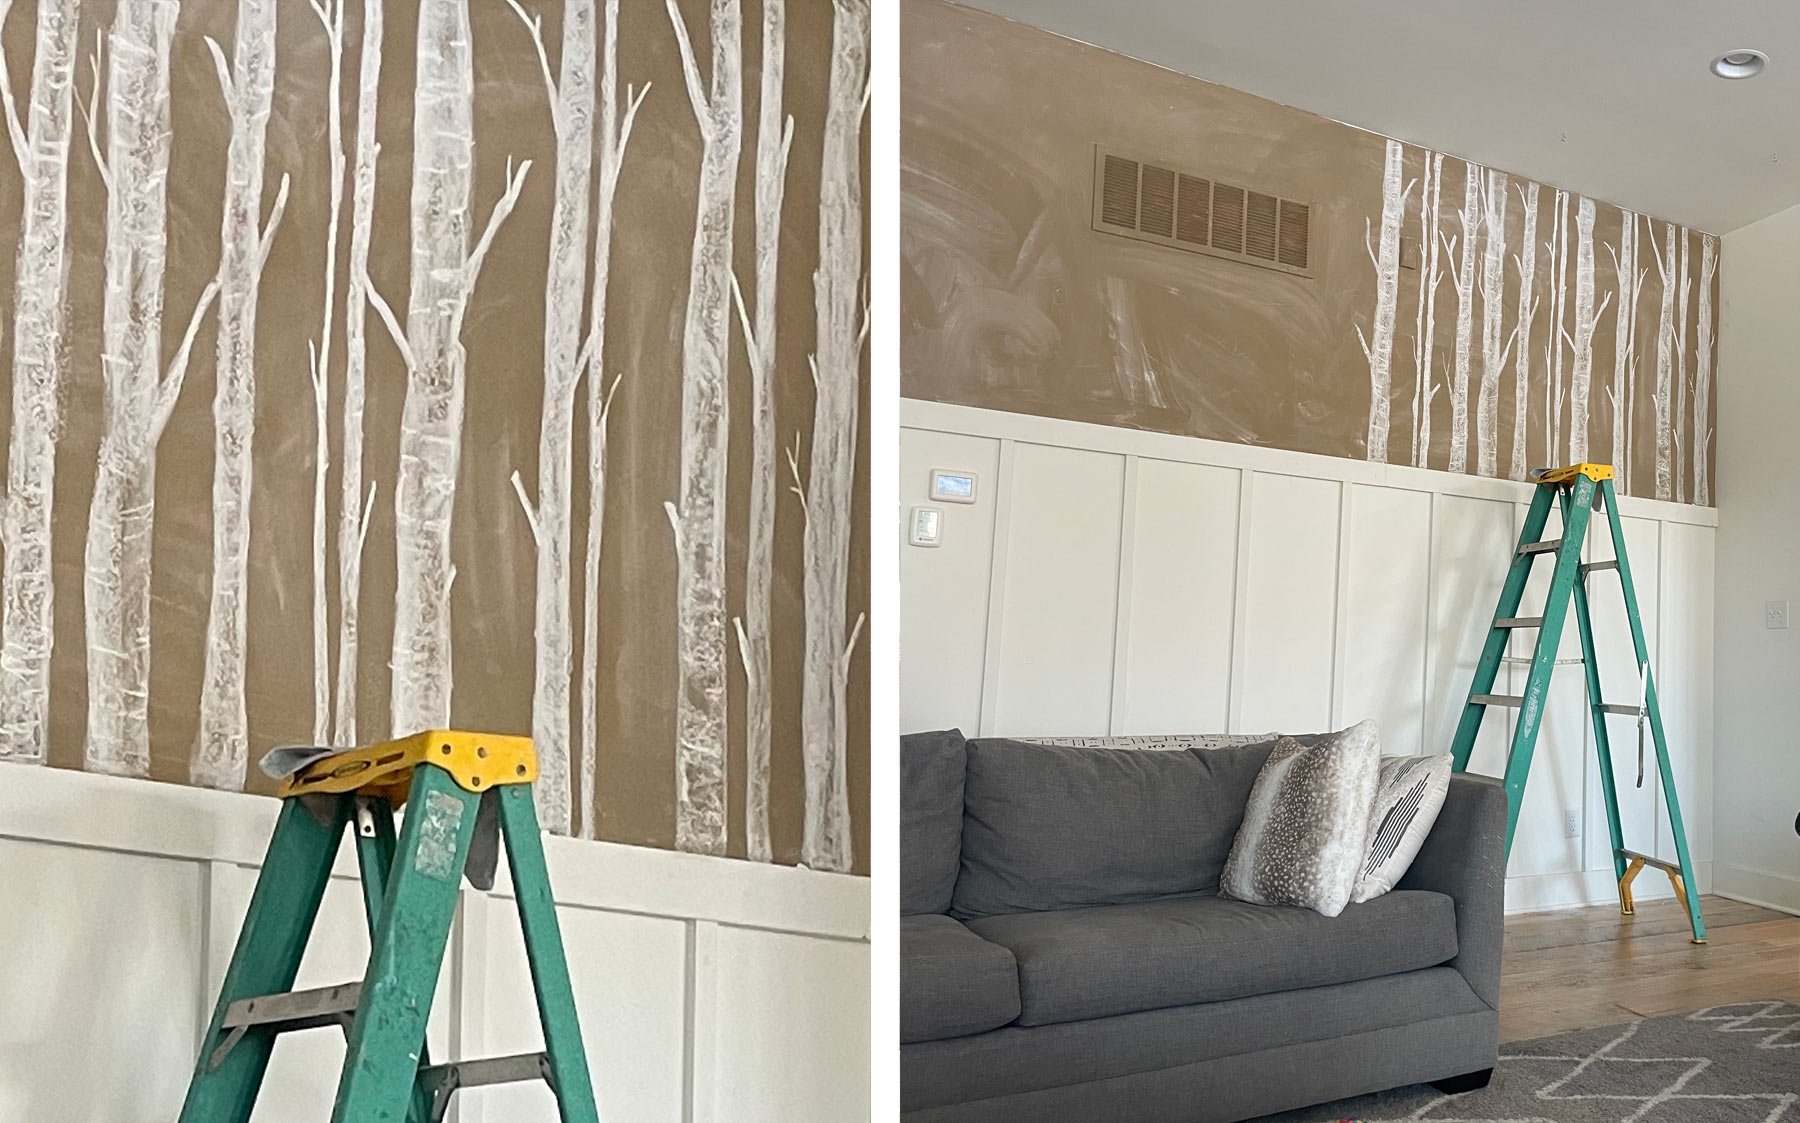
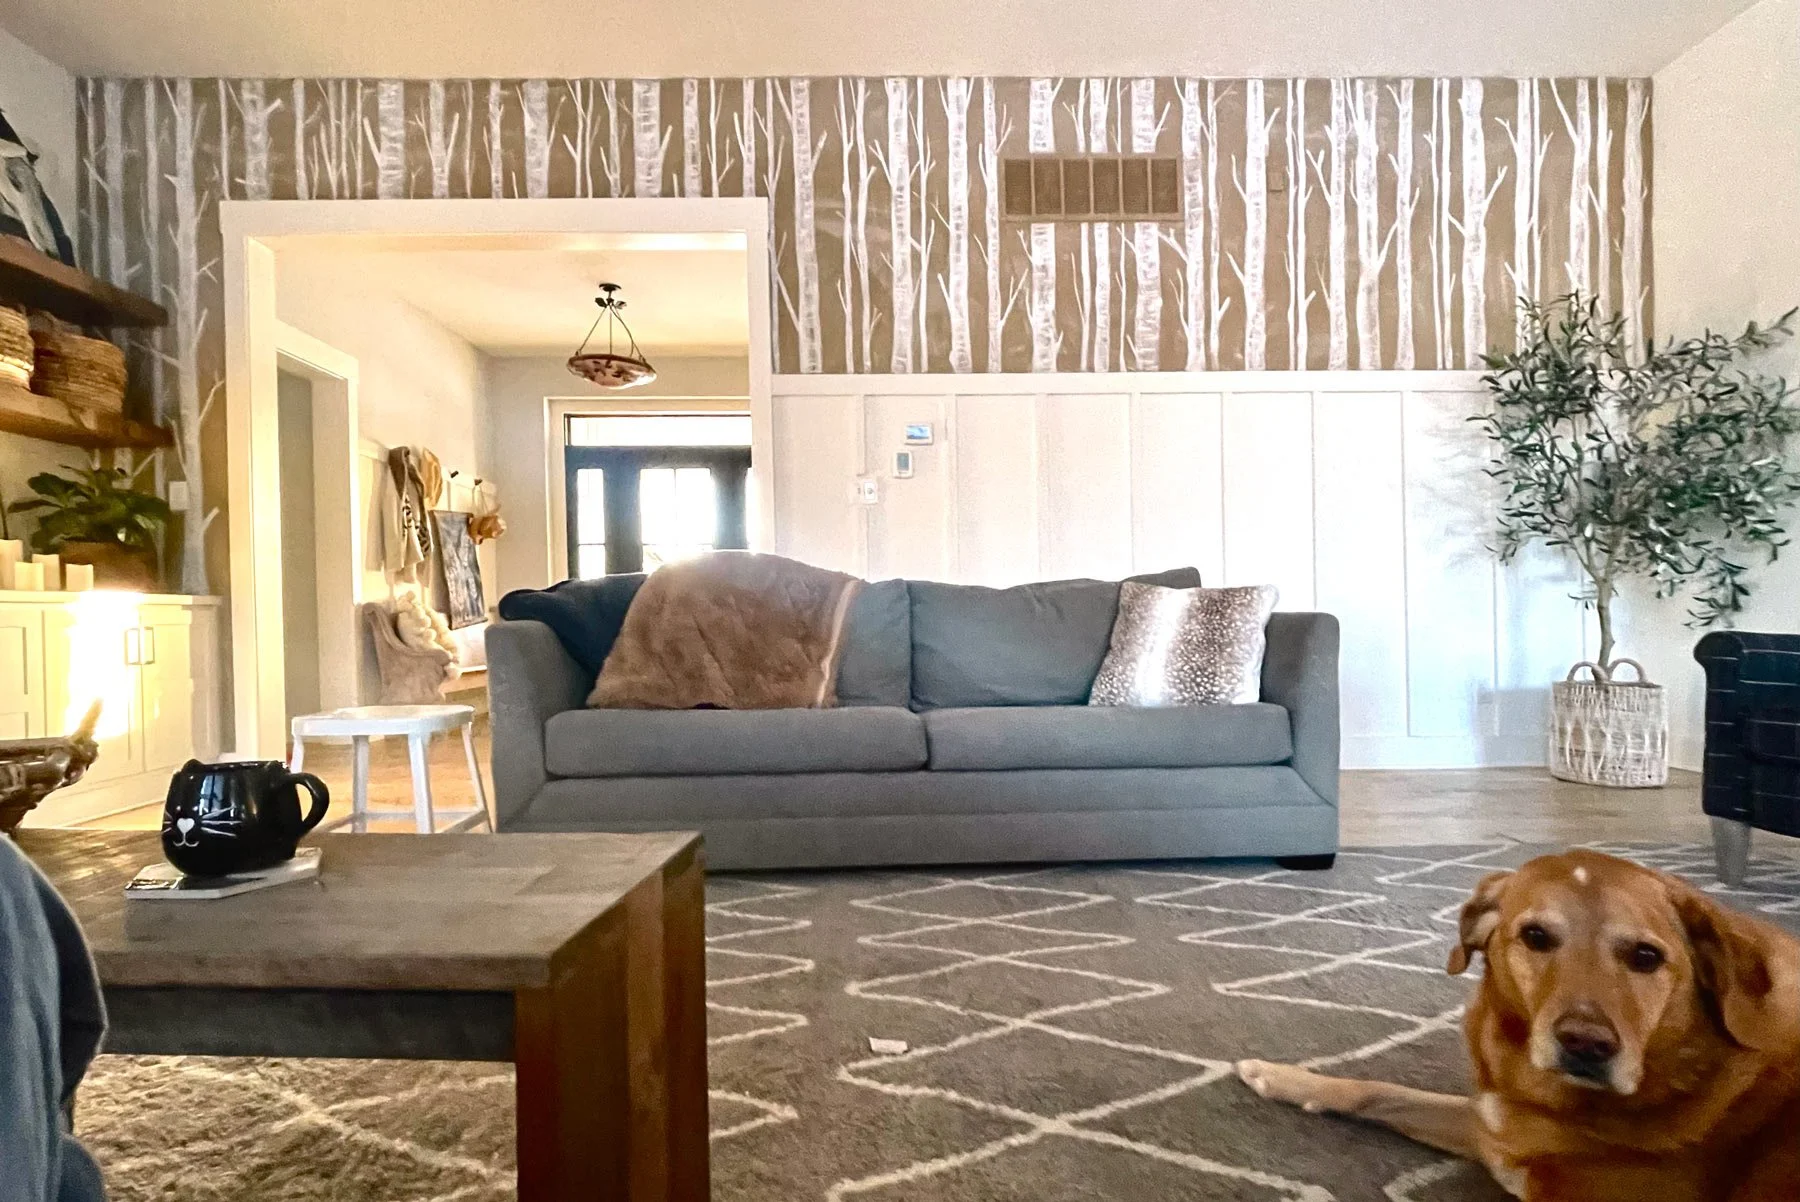
I kept the sunflowers up for about 4 months! I wiped it off in January, and after some pondering I decided to do birch trees for winter. I was inspired by this wallpaper by Max Humphrey.
Will I keep redrawing this chalk wall forever? Probably not. It takes me a few days to finish the design each time, and I think I’ll get tired of doing it. It’s been a good experiment though — I wasn’t sure if I wanted a bold design on the wall and I’m still not sure haha. So I’m glad it’s not permanent.
But it’s fun for now. Spring is coming soon, what should I draw next?
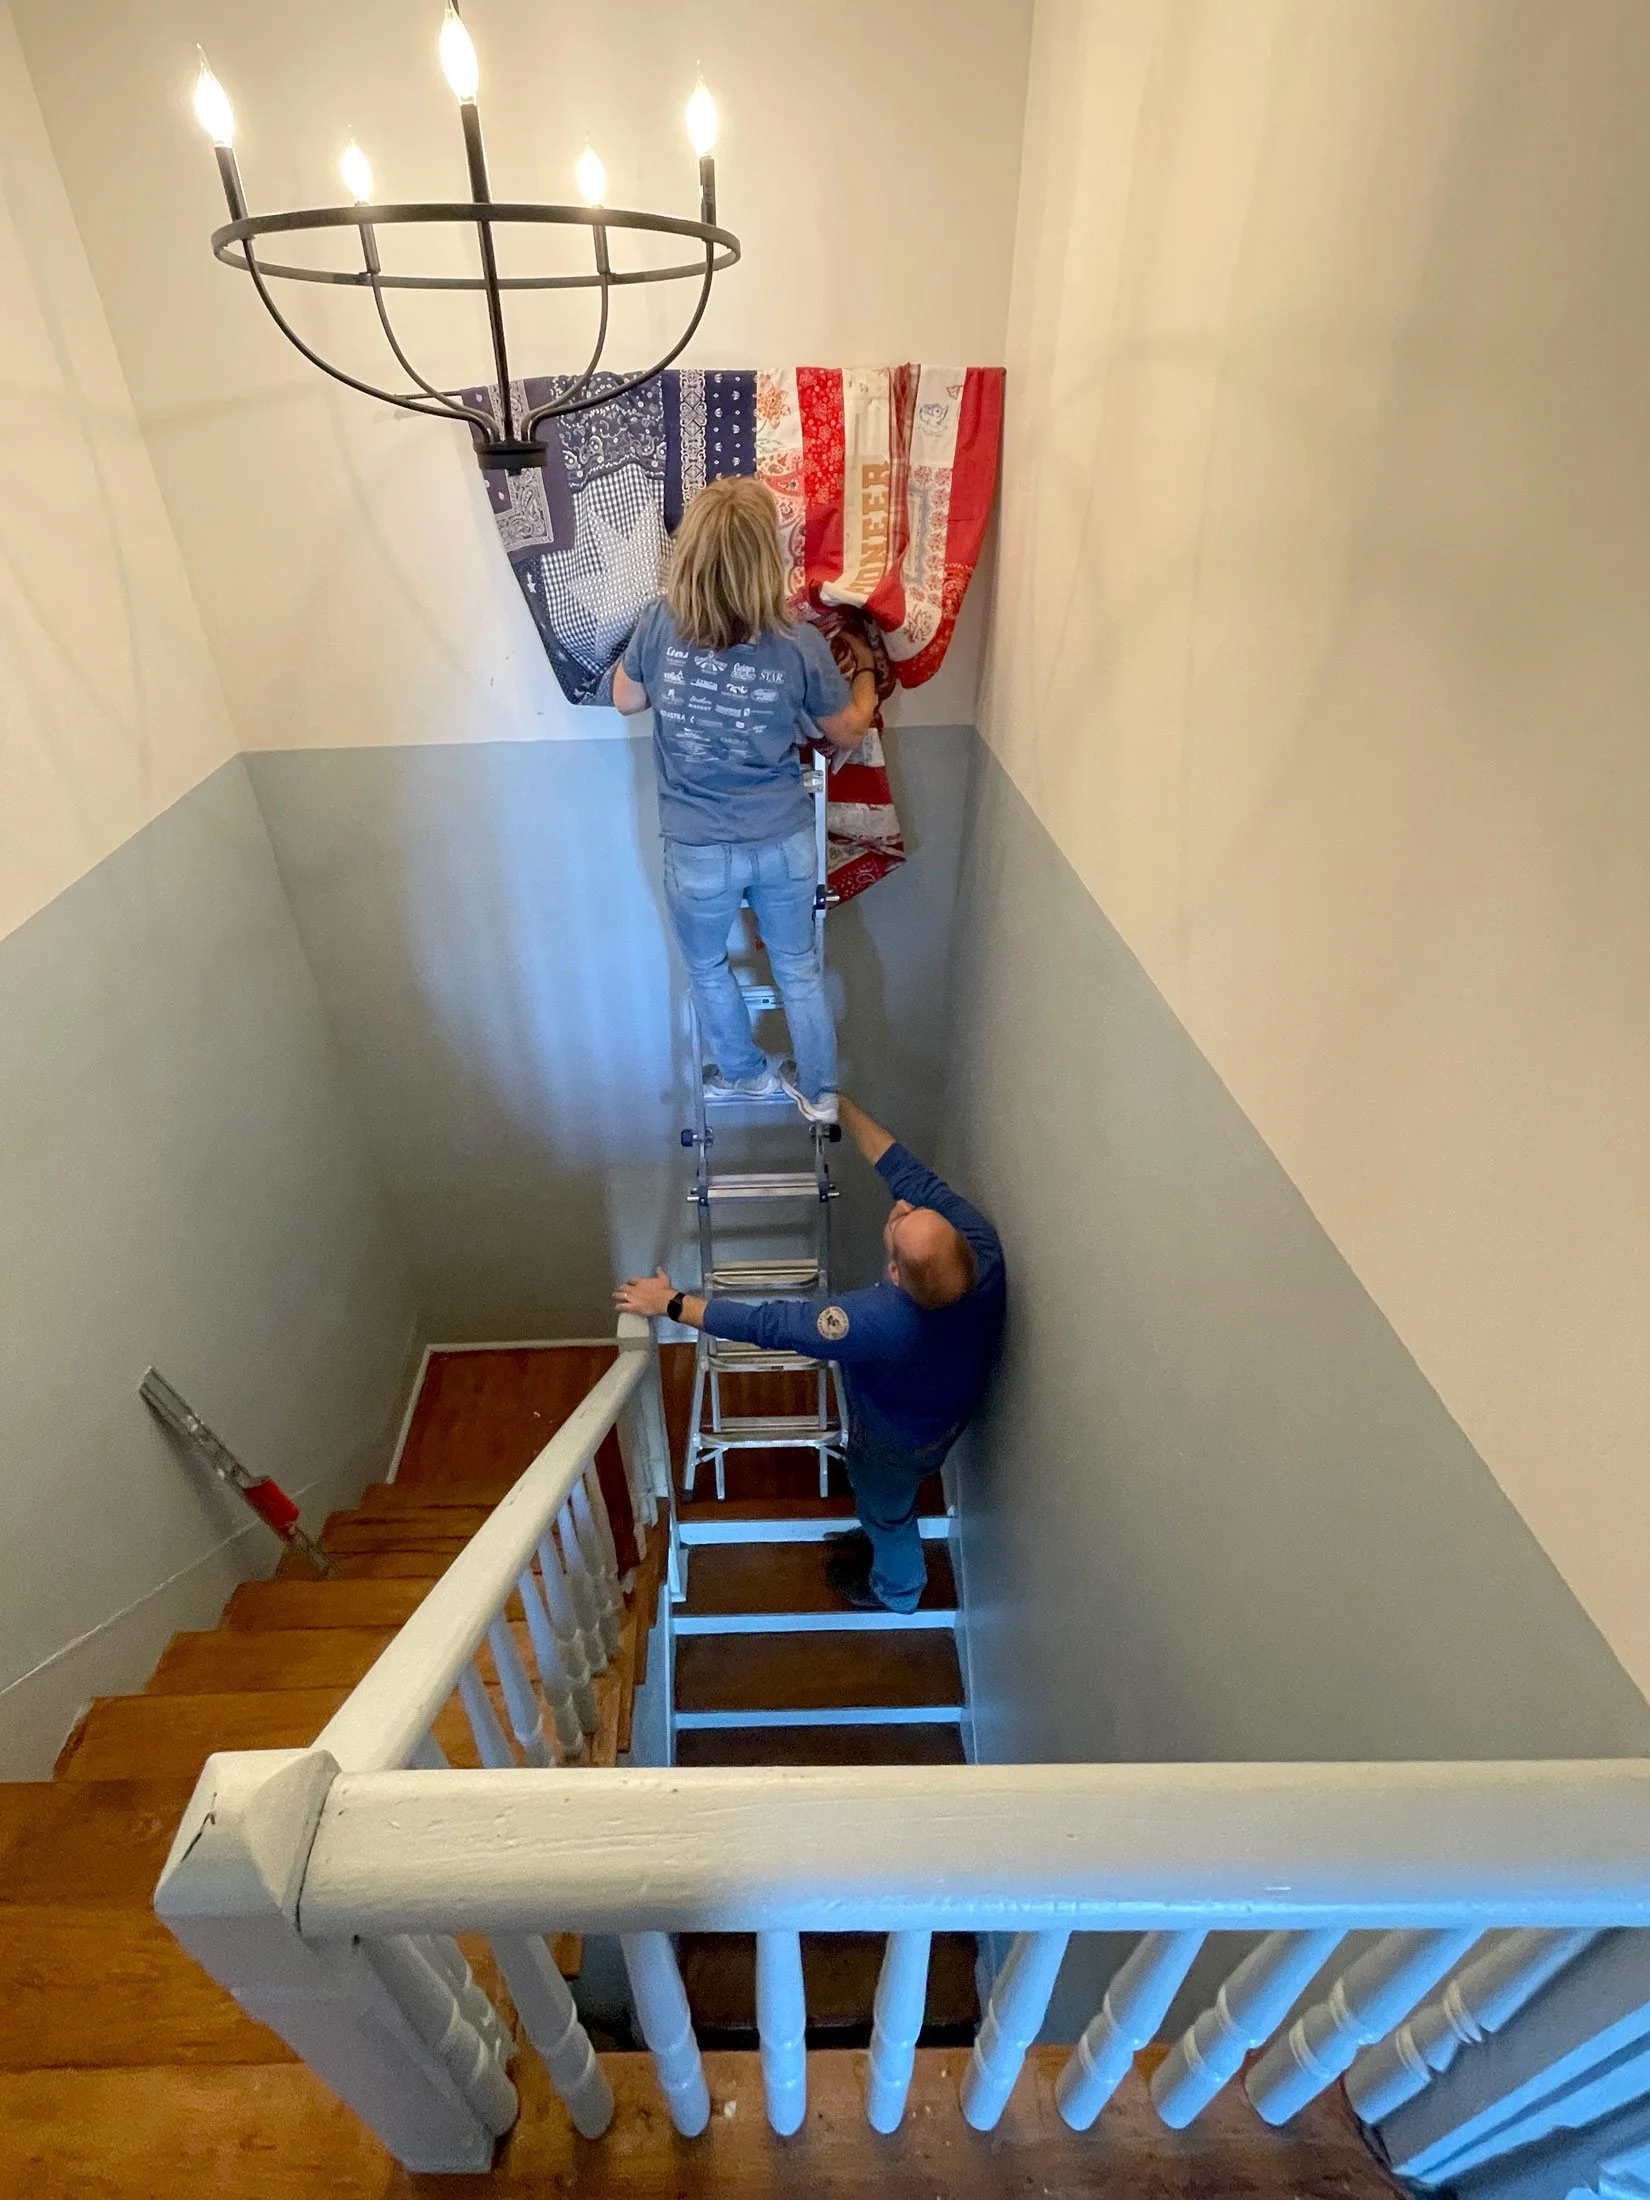
The tall wall in the stairwell of this foursquare farmhouse needed something special.
It was dingy and empty. It needed color and something long to fill the space. I had been inspired by a patchwork fabric flag art piece in an antique store a long time ago. I realized that we could make our own, which would be personal to our family and fit the story of the farmhouse.
The sad stairwell, before
Vintage fabric details ❤️
First, I re-visited my inspiration photo and decided how I wanted our flag to look. Then, I measured the wall space and drew up a mockup on my computer. I planned out the best length and how much fabric i would need for the stripes.
Next, I started sourcing fabric. I used some handkerchiefs that were my Dad’s, and some of my husband’s old plaid shirts. I sourced more vintage fabric, hankies, tablecloths and grain sacks from marketplace, thrift stores and Amazon.
Finally, I casually asked my mom to sew everything together. I prayed she would do it. I have a sewing machine, but her attention to detail is unrivaled.
My mom somewhat reluctantly agreed. Then, she attacked the project like a professional. She did an amazing job sewing the pieces together and figuring out the design for the blue block.
Visual representation of the official DIY flag making process.
Nanny’s personal touch
She did go rogue in a few places and add in her own fabric that was special to her. These cartoon elephants are from a pillowcase that she made my daughter. 🥹 And I think she just liked the reindeer.
Hanging the flag
View from the upstairs bedroom
It means so so much to me to have this piece in the house. I love that it was a collaboration with my Mom. I love that the fabric we used has personal meaning to it. I love that it fits the vintage farmhouse vibe, and celebrates quilting, a craft that is historically femaie. And, I simply love that it’s big and colorful. It brightens up the space so much!
This bathroom renovation turned out a lot better than anyone thought was possible, including me.
When the house was built in 1905 there was an outhouse outside, and this washroom inside. It was small and dingy, with a window over the tub and a door on each side. No original fixtures remained, although the bathtub was definitely old.
We kept the footprint of the room but rearranged the layout, walling off one of the doors and moving the toilet. I wanted to keep the window over the bathtub, because of nostalgia (and it did let in some light). But all the construction experts said shower windows are trouble. I finally caved so we could have a nice, plain tile wall in the shower, that wouldn’t leak and cause us issues, and also privacy.
Bath tub and window - before
Bath and shower - after
We kept the cast iron bathtub that was there. It was dirty and extremely heavy, and the plumbers and my family kept asking, are you SURE you want to keep that tub? But it was already there, no cracks, ready to use. It was practical to keep it.
Vintage worktable
The finished vanity
I used an antique work table and vintage sink for the vanity. The beadboard adds a nice texture on the walls. The blue flower penny tile from Floor and Decor was reasonably priced and so cute. And finally, we had kept these ceiling light fixtures that were (I think) original to the house, so we mounted them to the wall on either side of the mirror. They look neat and put out lots of nice flattering light.
Vintage light fixture
The finishing touch is the toilet stall. I don’t know why, but I feel compelled to go the extra mile in small bathroom spaces. I painted a daisy floral wallpaper on the wall that was inspired by some wrapping paper I bought at TJMaxx.
Painted wallpaper + penny tile
View from the kitchen looking in
Painted floral wallpaper
In the end, the bathroom turned out cute and cozy. We updated it to modern day standards, and it’s much brighter and more functional. But we kept the rustic, country vibe😍